Easy Scratch Art Easy Scratch Art Designs
As an Amazon Associate I earn from qualifying purchases.
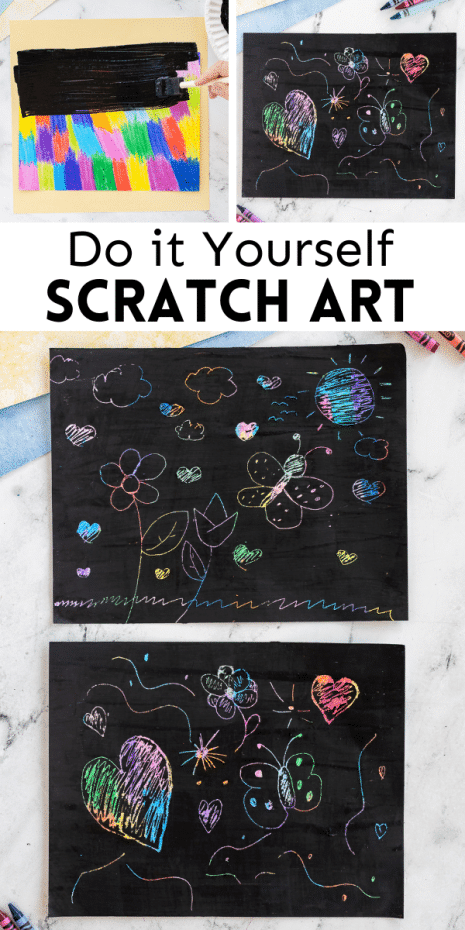
Did you know you can make your own DIY scratch art? It's actually pretty easy! The cool scratch art can be used for everyday use or special occasions! Take a look at how easy it is to create your own DIY scratch art paper.
Who Invented Scratch Art?
Scratch art is also known as engraving art, foil art, or artfoil. People use a scratching tool to remove the black layer of the project and reveal beautiful colors underneath their art. It's a simple art project that can be enjoyed by both children and adults.
Scratch art was invented by Bill Russell back in the 1980s. Scartch art back then replaced engravings on metal, wood, and other surfaces. Artists use it to create beautiful black and white images. We aren't that fancy and just use it for crafting, but we're so glad it became popular!
How to Make Scratch Art Paper Video:
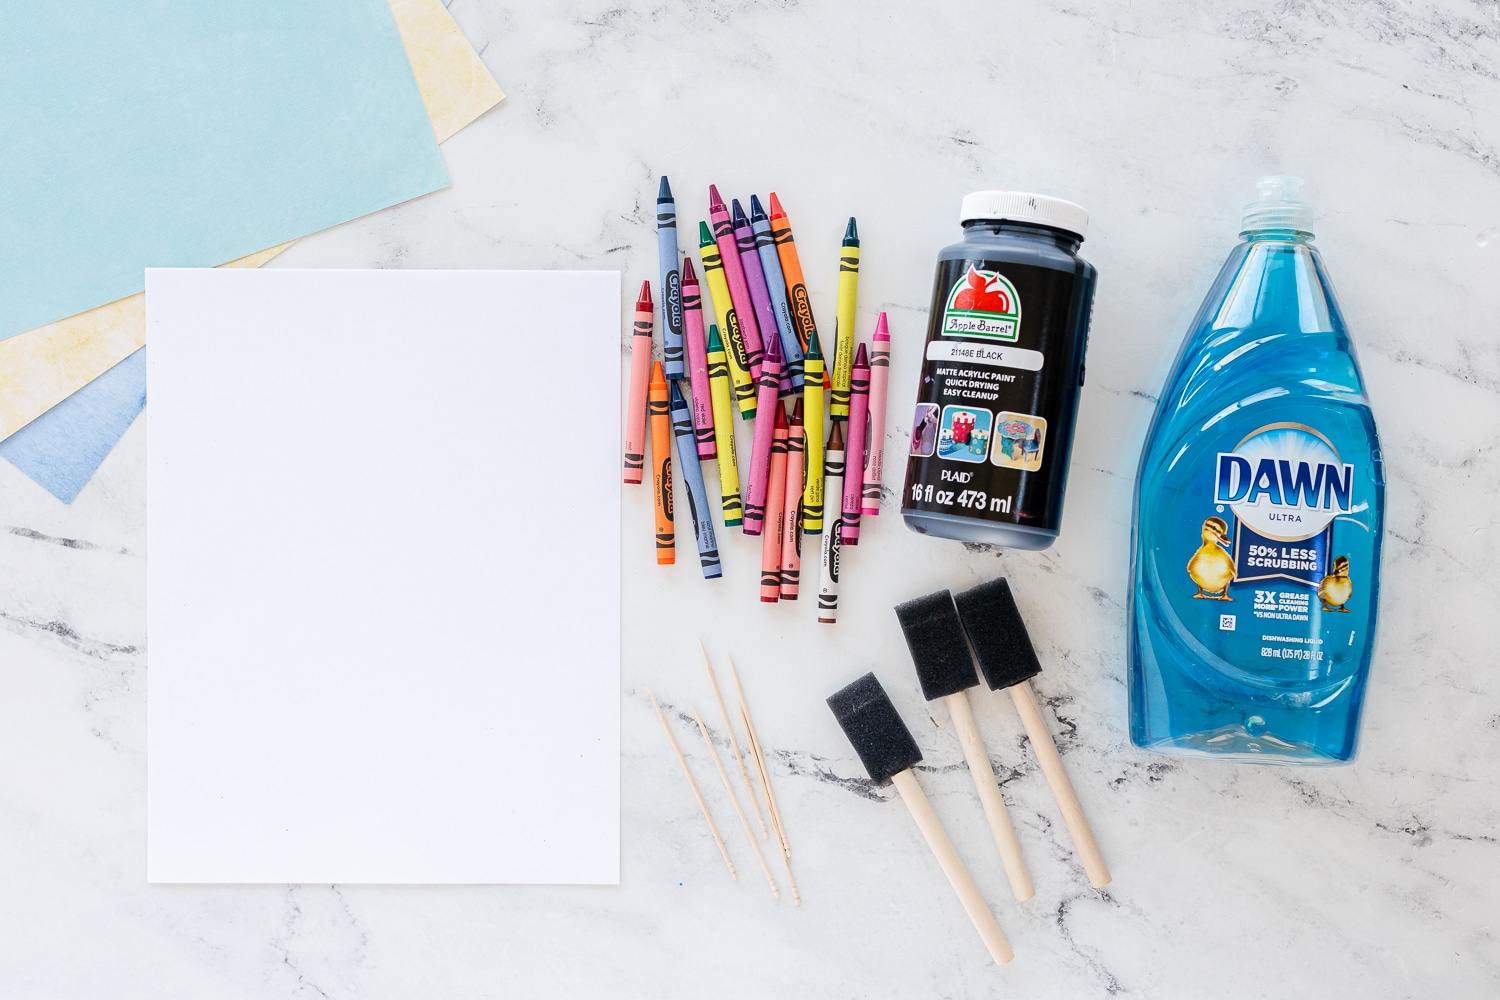
Materials Needed to Make DIY Scratch Art
The DIY Scratch Art Supplies are objects you most likely already have. Anything you don't have, run over to Walmart or the Dollar Tree to find. Most of my crafts involve materials you can find for cheap or at no extra cost!
- white cardstock paper
- Crayola Crayons
- black craft paint – I used Black Apple Barrel Paint
- dish soap, such as dawn or regular dish detergent
- mini wooden skewers (these work best for younger kids with little hands)
- foam brush
I recommend using cardstock instead of regular white paper because it is sturdier and will hold up better when the scratching process begins.
Step by Step Instructions for Making Your Own Scratch Art
Make these ahead of time for your kids to enjoy later or let kids create their own scratch boards!
- With your crayons, color all over your paper. Try to add small areas of colors and cover the entire sheet. Use as many colors as you can to make fun scratch art afterward. You will want to press firmly to make the crayon as dark as possible. I choose vivid colors that will stand out against the black paint. You want the areas to be dark and waxy-looking. Any white areas won't scratch off.
- Add about 2 tbsp of black paint to a cup. Add about 1/2 tbsp of soap and mix them together with a foam paint brush. Be sure to mix slowly to avoid making bubbles in the mixture.
- In long strokes, paint the black paint on top of the crayon-colored paper. You want th paint to cover the paper so you can't see any of the markings underneath. Cover everything but don't make it too thick. This will make it difficult to scratch off. I usually do two very light coats instead of one thick paint layer. Let the first coat dry before applying the second.
- Allow the paint to dry fully. This might take a couple of hours.
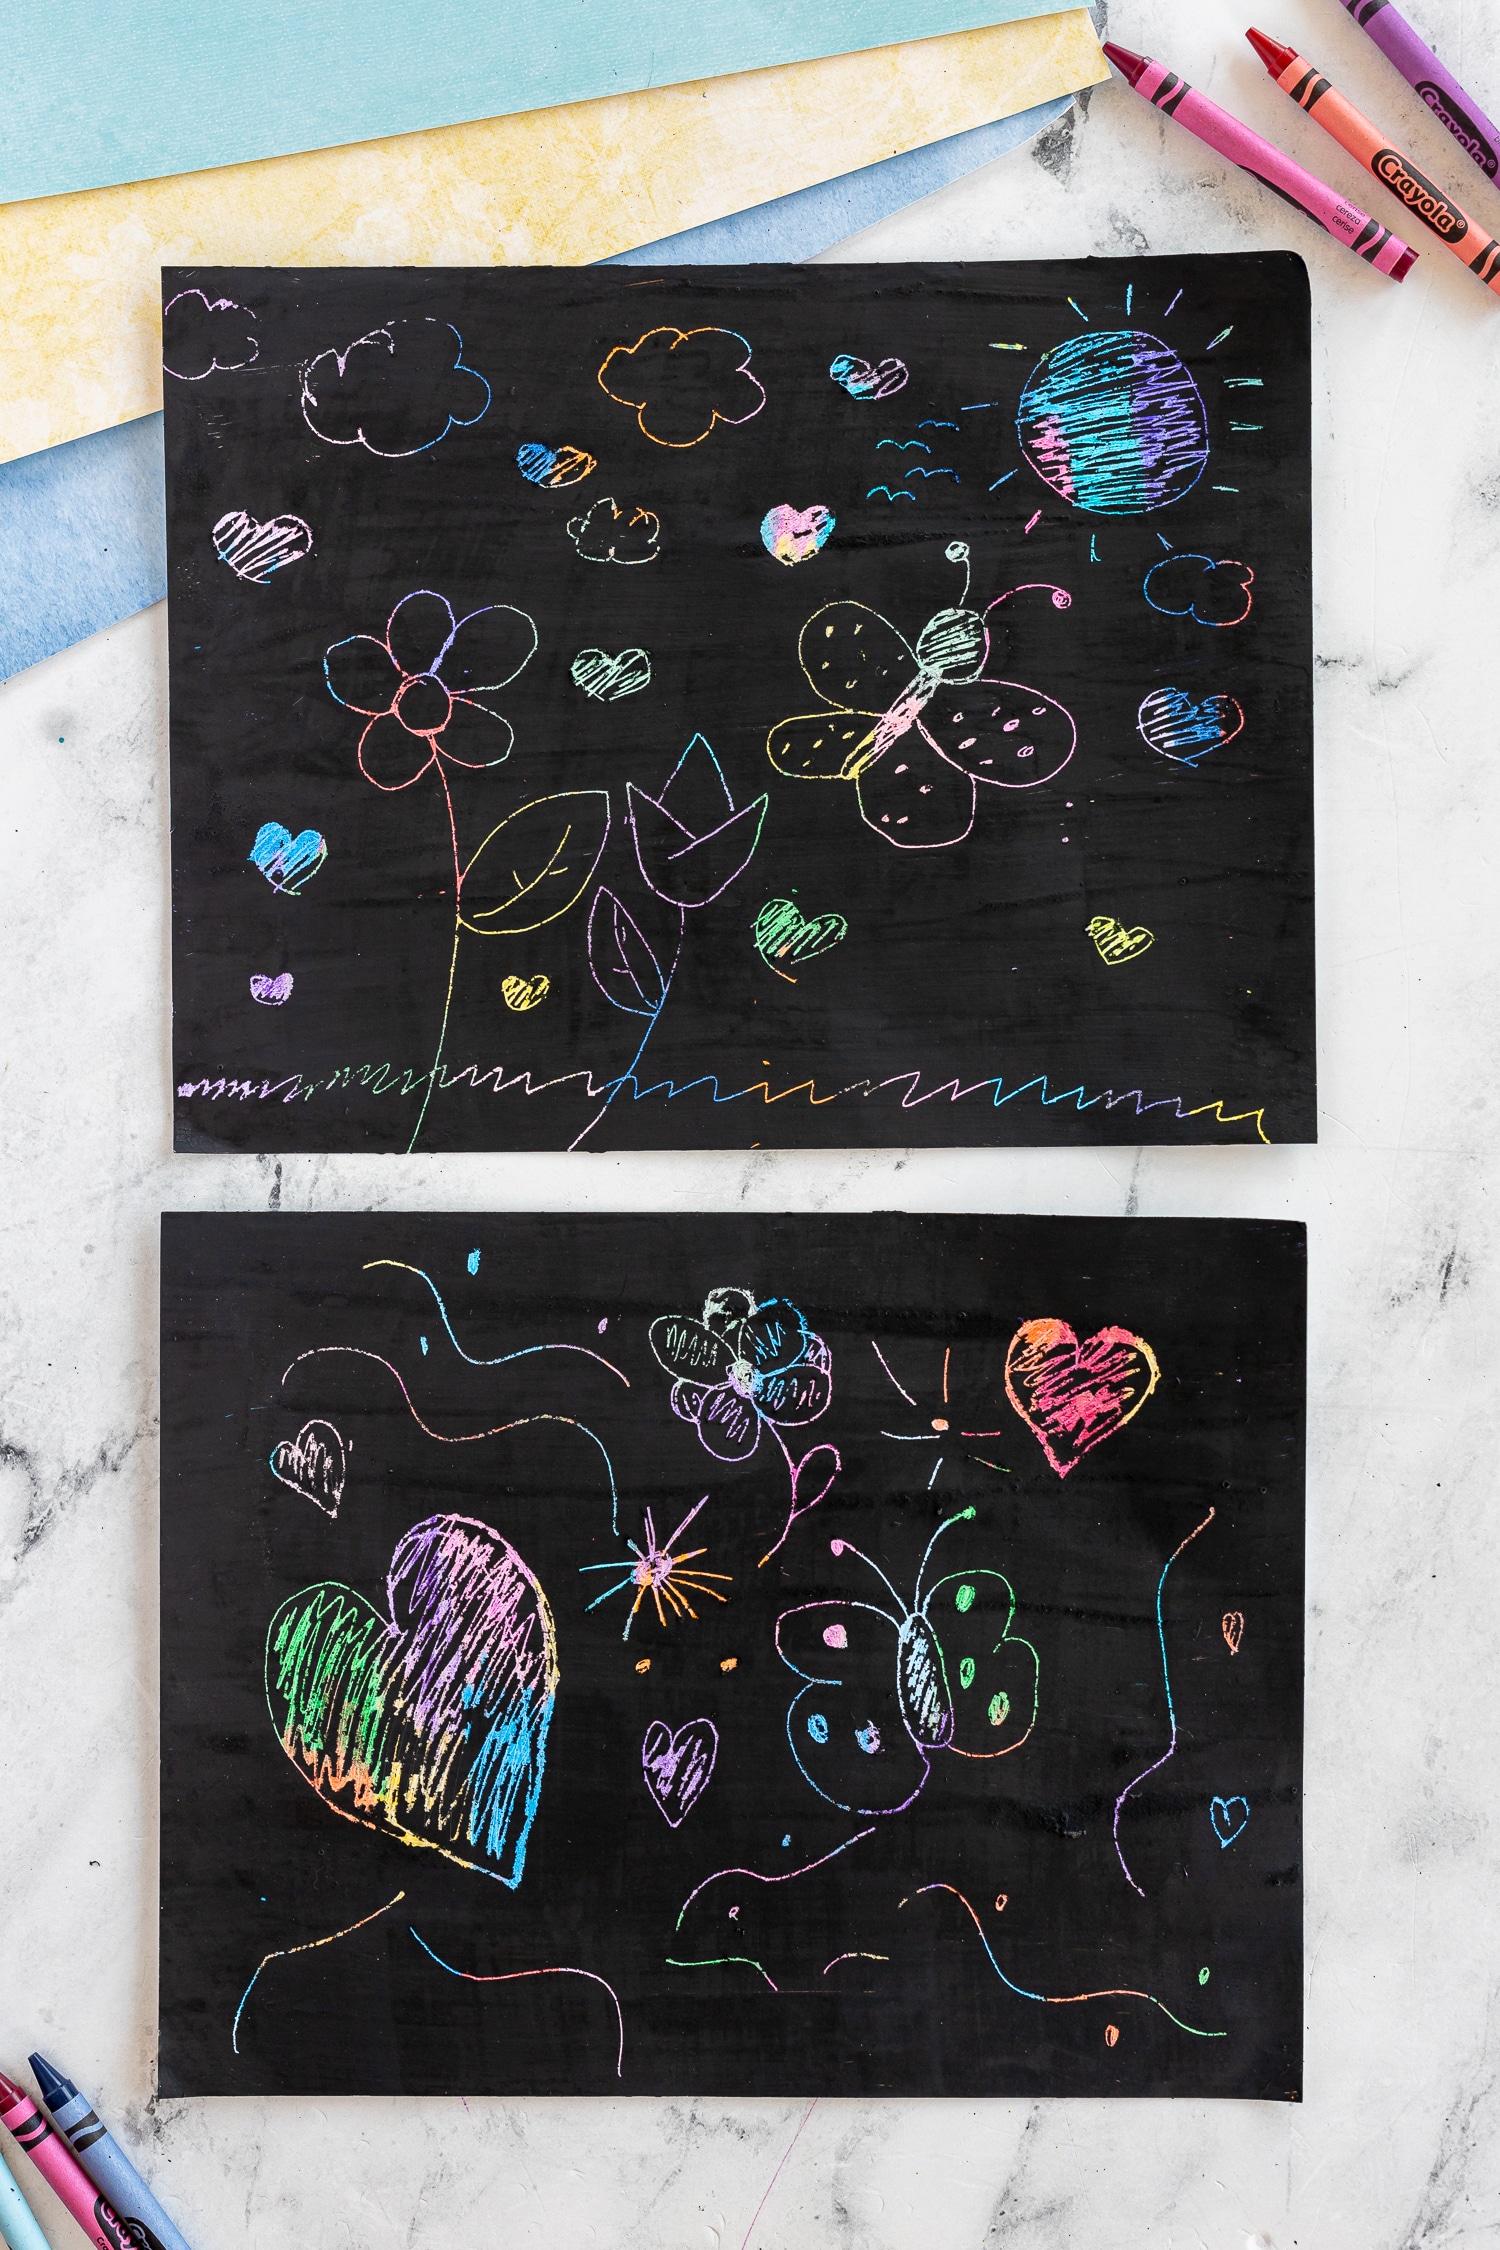
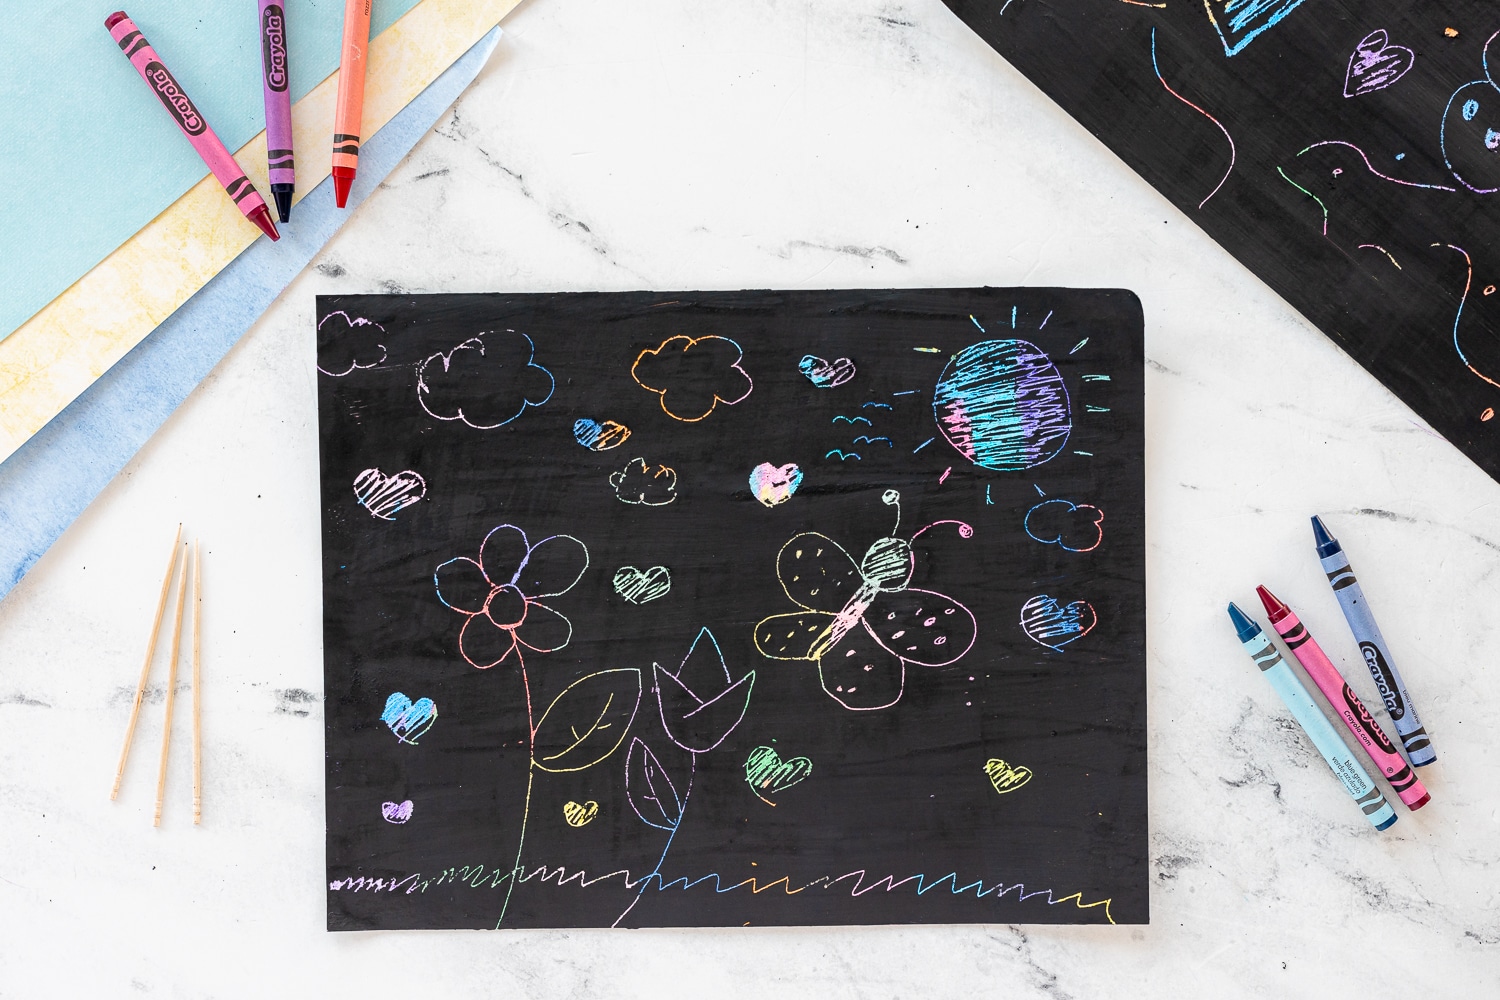
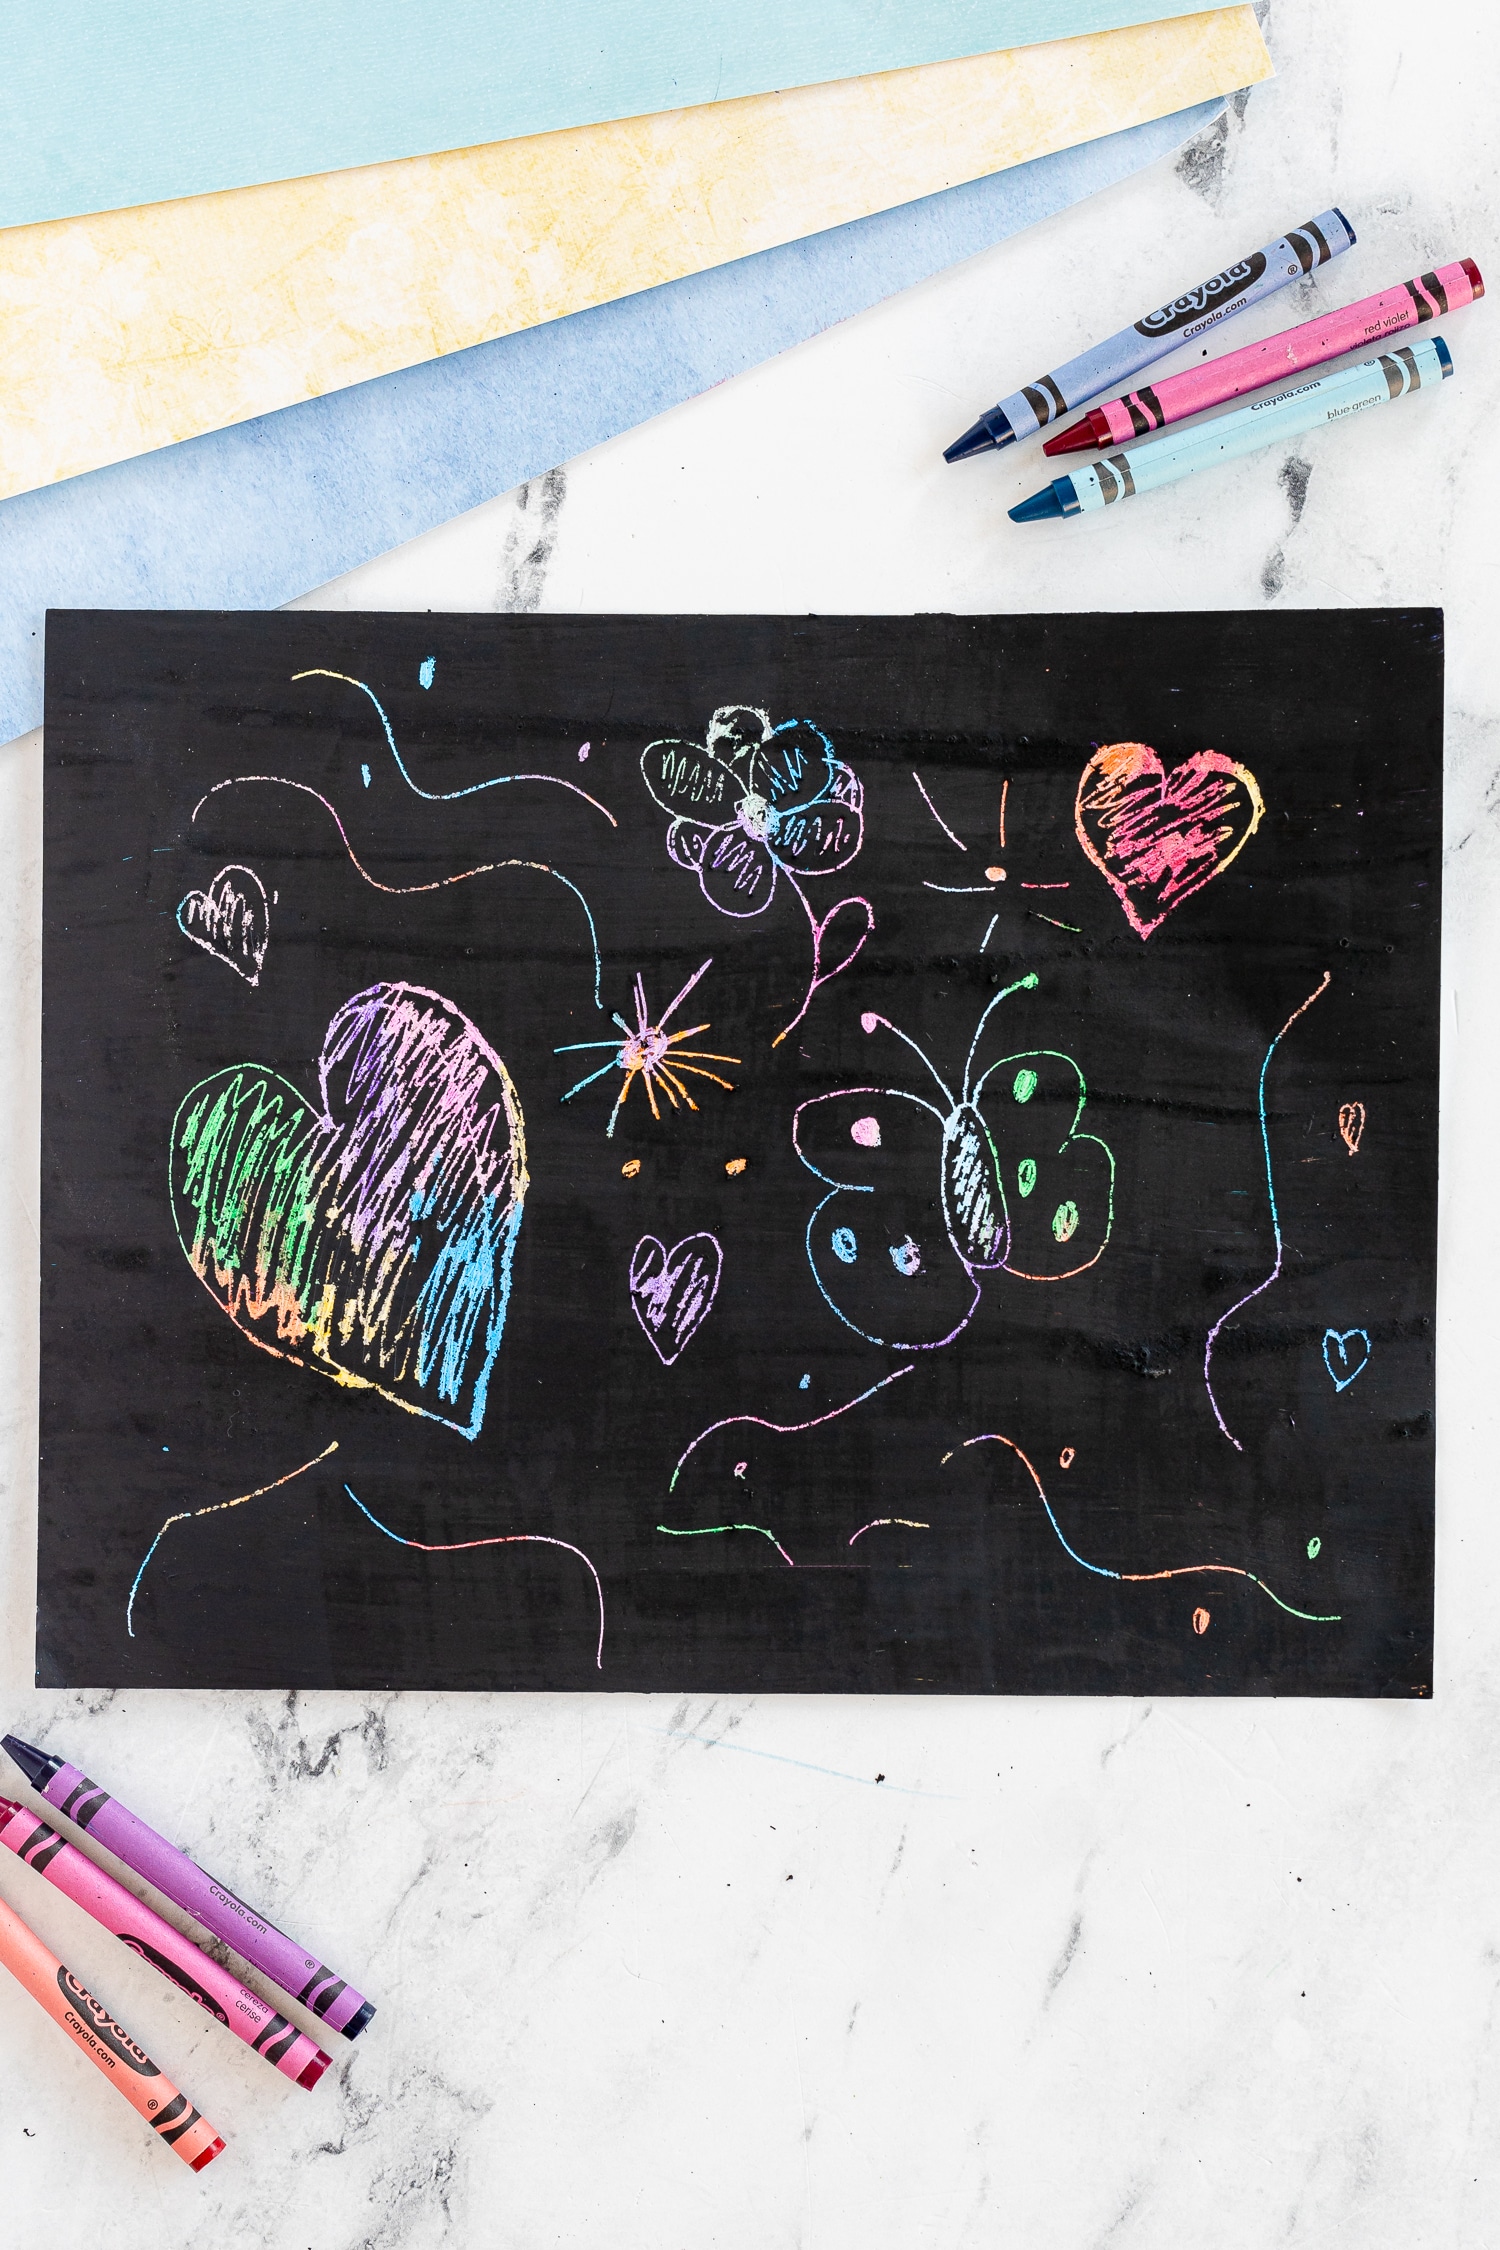
- Use the wooden skewers to scratch off your own fun designs.

What Can I Make With My Designs?
The DIY scratch art can be used for all sorts of things. We like to have them on hand just for fun. I will make multiple sheets and store them in a container or bag for the kids to use any day. Sometimes we break them out and use them to make cards for friends' birthdays or to write messages to each other.
Use them to draw smiley faces, practice writing names, draw shapes, butterflies, flowers, and so much more. Let the kids get creative with anything they want. Sometimes all they want to do is scratch off every inch of the black paint just to see what's underneath.
Other Scratching Tool Options
If you don't want your kids using wooden or bamboo skewer tools for their DIY scratch art, they can also use toothpicks or any other hard-edged tool. I have seen people take the soft part of a Q-tip and use the plastic piece for scratching. Any skinny stick, popsicle stick, or wooden chopstick will work well!
Using Other Surfaces for Scratch Art
Instead of using construction paper or cardstock, try using other objects to create your own DIY scratch art. If you have some scrap wood or canvas lying around, repeat the process listed above on it. The outcome will be some beautiful art you can keep for years to come. They also make great gifts because loved ones can display them knowing they won't get torn! Kids of all ages will enjoy this scratch art project.
Trying to find more fun art to do with your kiddos? Check out these similar posts:
- Grow a Rainbow Science Experiment
- DIY Leaf Matching Game
- How to Make Borax Crystals
Reader Interactions
As an Amazon Associate I earn from qualifying purchases.
holstonsoollike80.blogspot.com
Source: https://www.madetobeamomma.com/diy-scratch-art/
0 Response to "Easy Scratch Art Easy Scratch Art Designs"
Postar um comentário